These are the guidelines for the written instructions. Due by midnight on Friday, July 13thThese instructions are typically 4-5 pages long, you need to use at least 5 visuals (can be hand drawn, sca
How to Build a Wood-Burning Fire
Brandon Parker
ENG 162 WA
Professor Hricik
July 9, 2010
Materials
The following list consists of required and optional items that will be used in these instructions to build a wood fire:
Required:
Dry, seasoned logs or split wood
Dry kindling
Newspaper
Matches
Fire tool set (poker, shovel, brush, tongs)
Fireplace grate
Fireplace Screen
Optional:
Starter logs
Billow
Estimated Cost
Let us first assume the only amenity available is an empty fireplace. Most of the material can be found at a home improvement store such as Lowe's or Home Depot. The cost may vary depending on the quality of the product. Here is a table of the cheapest required materials from Home Depot:
| Item | Price Per Unit | Quantity | Total Cost |
| 50 matches (11") | $1.98 | 1 box | $1.98 |
| 5 pc. Fire tool set | $44.98 | 1 set | $44.98 |
| Fireplace grate | $24.98 | 1 grate | $24.98 |
| Fireplace Screen | $44.98 | 1 screen | $44.98 |
Subtotal: $116.92
Note: The cost of the tool set, grate, and screen is a one-time investment
Obviously, if the fire tool set, grate, and screen have been previously acquired, the cost of building a fire is only dependent on the cost of firewood. Firewood can be obtained in a variety of ways from chain sawing a fallen tree to purchasing kiln-dried firewood from a store. The most convenient way is to buy it from neighbor who recently had a tree cut down by a tree removal service. The remaining required items include kindling and newspaper. If you do not have a subscription to a newspaper, it can be found at a newspaper recycling site. Kindling can be easily obtained from a backyard or park. The best time to gather kindling is after a storm. Storm debris consists largely of small, dead sticks and twigs, which makes perfect kindling.
Time Needed
The time required to build a fire varies according to the level of expertise. A novice fire-builder should expect to spend the following amount of time per step:
Preparation – Time is needed to arrange the logs, kindling, and newspaper. Checking the fireplace and taking safety precautions also take time.
Estimated time: 15 minutes
Lighting – Lighting the fire is the most crucial step in building a fire. It depends largely on the quality and dampness of the firewood. Dry, aged wood will catch fire almost immediately, whereas damp wood may take upwards of half an hour to catch if at all. Let us assume the wood is fairly dry and well seasoned.
Estimated time: 20 minutes
Maintenance – Time may be needed for adding logs, stoking the fire, or rearranging the logs. After the fire is caught, each time it needs attended to will take less than 5 minutes. Collectively, it may need cared for every half an hour.
Estimated time: 20 minutes
Cleaning – It is not necessary to clean the fireplace after every fire, however, after a few fires the built up ash becomes messy and can act as a flame suppressant.
Estimated time: 5 minutes
Total time required: 1 hour
Instructions
The instructions for building a fire can be broken down into four simple steps: Preparation, Lighting, Maintenance, and Cleaning. Be sure to pay extra attention to the Lighting instructions, as they are the most crucial to building a roaring fire.
Preparation:
Make newspaper "pretzels"
Roll a single sheet of newspaper diagonally into a tube
Fold the tube in half and knot the ends about 4 inches in
Repeat until about 10-15 "pretzels" are prepared
Collect 4 logs or pieces of split firewood and order them largest to smallest
Place the LARGEST log on the grate, closest to the back of the fireplace
Place the MEDIUM sized log on the grate, closest to you about 3 inches from the back log

Figure 1: Overhead View of Bottom Logs
Lay the two SMALLEST logs diagonally across such that the two bottom logs support it

Figure 2: Overhead View of All Logs
Fit as many newspaper "pretzels" UNDER the grate as possible (5-6)
Gently thread 2-3 "pretzels" in the voids made by the geometry of the logs
Distribute about 10 pieces of kindling over the top logs and fit as many as possible between the two layers of logs without "stuffing" the center void
Open the damper of the fireplace (located directly above the grate)

Figure 3: Cross Section of a Fireplace
[www.livingwithmyhome.com]
Lighting:
Check the draft of the fireplace
Light the knotted end of a newspaper "pretzel"
Hold the flaming end well above the grate just below damper
Wait until the flame and smoke indicate an obvious air flow up the chimney
Use the flaming "pretzel" to light the bottom row of newspapers under the grate
Light the pretzels between the logs
Throw the flaming "pretzel" on top of the logs
While the newspaper is burning tie more newspaper "pretzels"
As the newspaper and kindling burn, closely monitor the logs for glowing embers
Generously add more newspaper and kindling as needed
GENTLY blow on the embers to excite the fire
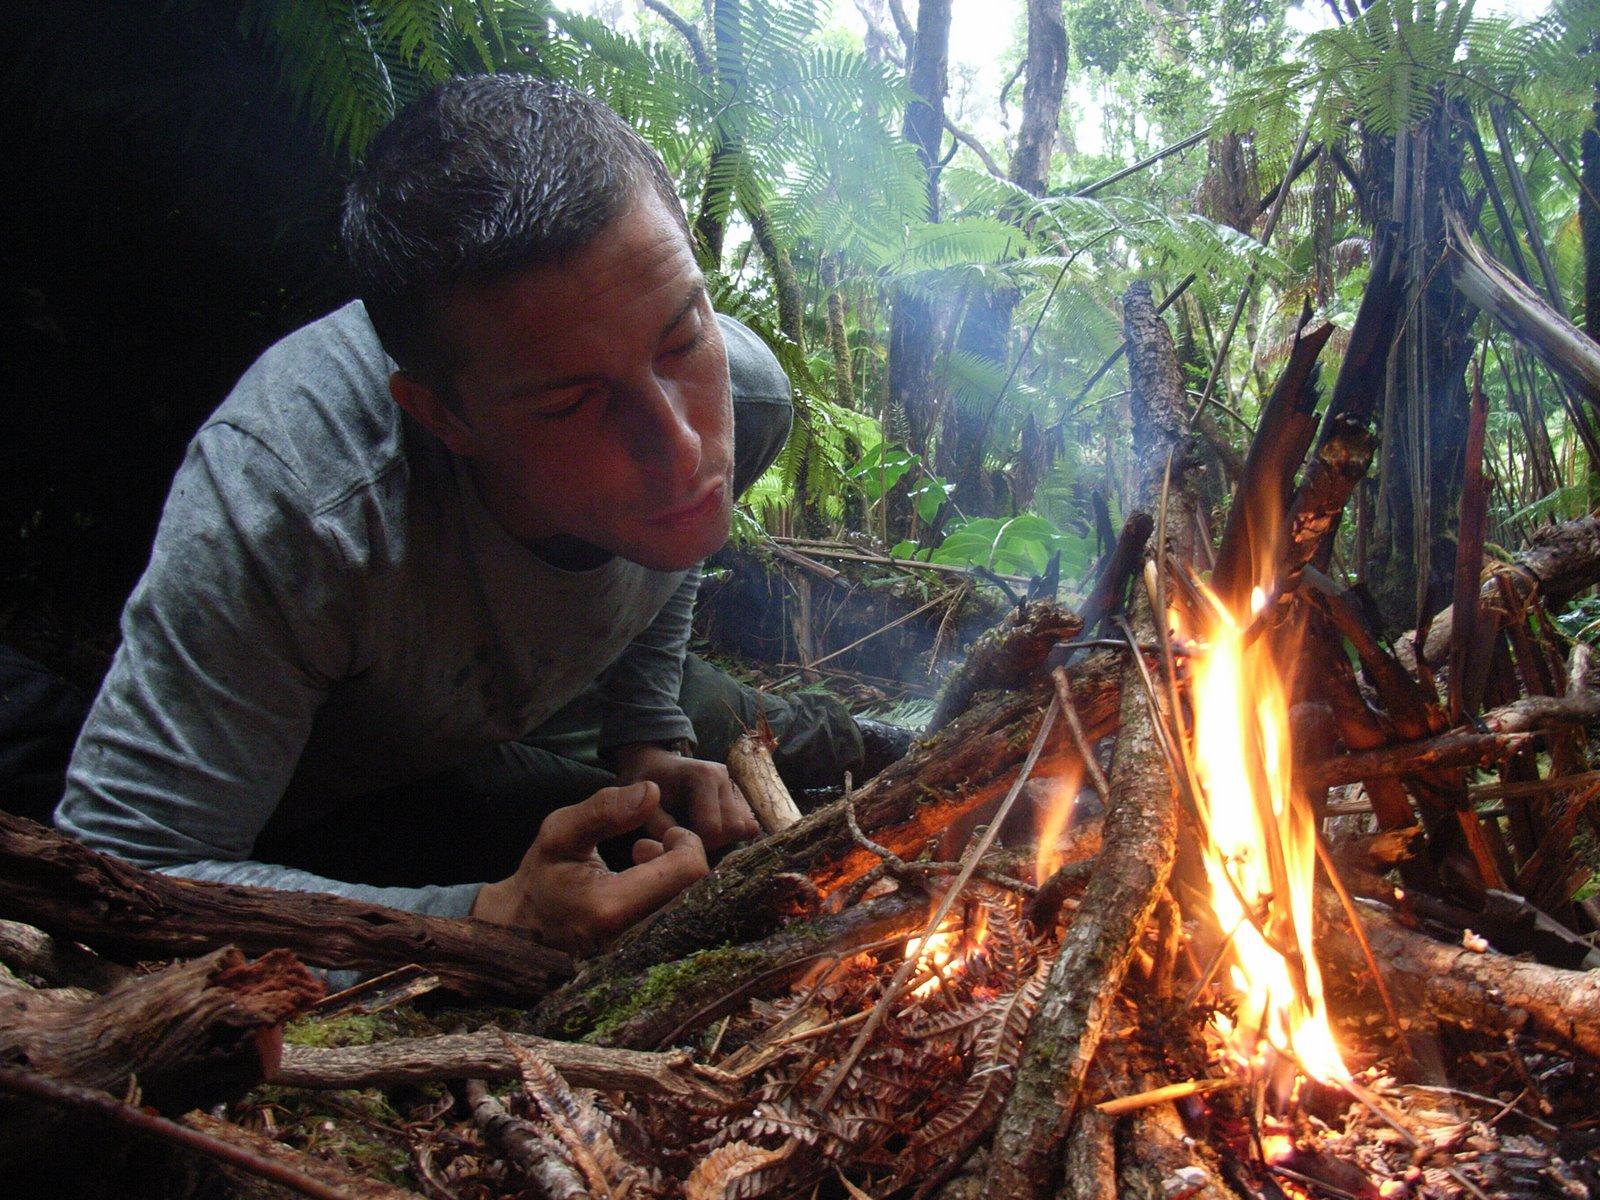
Figure 4: Gently Blow the Fire
[lh4.ggpht.com]
NOTE: For the logs to catch, it is imperative they are in constant contact with flames
Repeat steps 6 through 8 until all four logs are caught and the fire can sustain itself on logs alone
Place screen in front of fireplace and enjoy!
Maintenance:
If you notice the fire is dying down, gently stoke the logs with the poker to excite the flames
Introduce additional logs ONE AT A TIME as needed
Rearrange logs to keep a pocket of heat in the center of the log matrix
NOTE: As the fire becomes very hot, the log geometry does not matter as much. New logs can simply be placed on top of the existing logs
BE PROACTIVE! Do not wait for the flames to completely die down before adding another log
Cleaning:
Ensure the screen is in place and nothing is in close proximity of the fireplace
Allow the flames to die down overnight
Wait at least 24 hours before cleaning the fireplace
Make sure the embers are completely cooled
Place any spent logs in a large paper bag
Shovel the ashes into a separate paper bag
Use the brush to collect smaller ashes and shovel them into the bag
Dispose of the bags in an outdoor garbage can
Once the fireplace is clean, close the damper
NOTE: To prevent a hazardous fire, make certain all ashes and logs are no longer hot
Tips and Final Reminders
The fire will take care of itself as long as there is a hot bed of embers under the grate. The embers facilitate igniting new logs and restarting the fire if the flames die down

Figure 5: Hot Bed of Embers
[www.gratewalloffire.com]
If the back log does not catch, the fire will be a struggle from start to finish
Stay away from the ink-heavy, colored advertisements when making newspaper "pretzels"
Starter logs can be placed under the grate and in the center of the log matrix
A billow can be used instead of blowing on the fire
Hold SAFETY above all else
By following this procedure, you will be able to construct a billowing fire that can be enjoyed for hours. For the best results remember to:
Prepare the correct arrangement of logs, kindling, and newspaper
Light it from the bottom and replenish kindling and newspaper
Maintain a large bed of embers and a strong flame
Clean the fireplace after several fires
Enjoy!


